As you can see from the wide variance of articles here, I have a broad brush of interests that I have tested out. In all those years and activities, I have been interested in the only visually creative one, outside of 3 paintings, which was a brush with photography. Even then, that was mostly a fascination with gear. Since starting to work with a new film studio, I wanted to change some of my current hobby focus to photography, I already own the gear, and I think it would allow me to be a better asset to the business, maybe not in a production sense but with a deeper understanding of what is needed in production.
The First steps I have taken are the usual dive into YouTube to understand what all the numbers even mean on my camera and the lenses (Canon Rebel T6, if you were wondering). After learning what ISO, f-stop, mm, and white balance all mean, I started snapping pictures and showing them to the co-founder of the film studio to get critiques; if you want to follow my journey, I will be posting a picture every day on Instagram; some days will be better than others, but it will be a journey.
Here is what I have learned so far that I can pass on to those who want to jump into photography. If I am wrong in any of these statements, please let me know so I can make addendums.
Question 1: Why is there such a difference in the cost of camera bodies? From what I can see, most of it is down to speed and features. A more expensive camera can take more shots per second for sports photography and can focus faster, allowing you to get more shots at once. Efficiency is essential when it comes to professionals.
Question 2: What does the “F” mean on the lens? The answer to “F” also answered another question, when you want something to be blurry in the photo, the “F” number will help define how much of the photo is blurry. The smaller the number, the more blur you get.
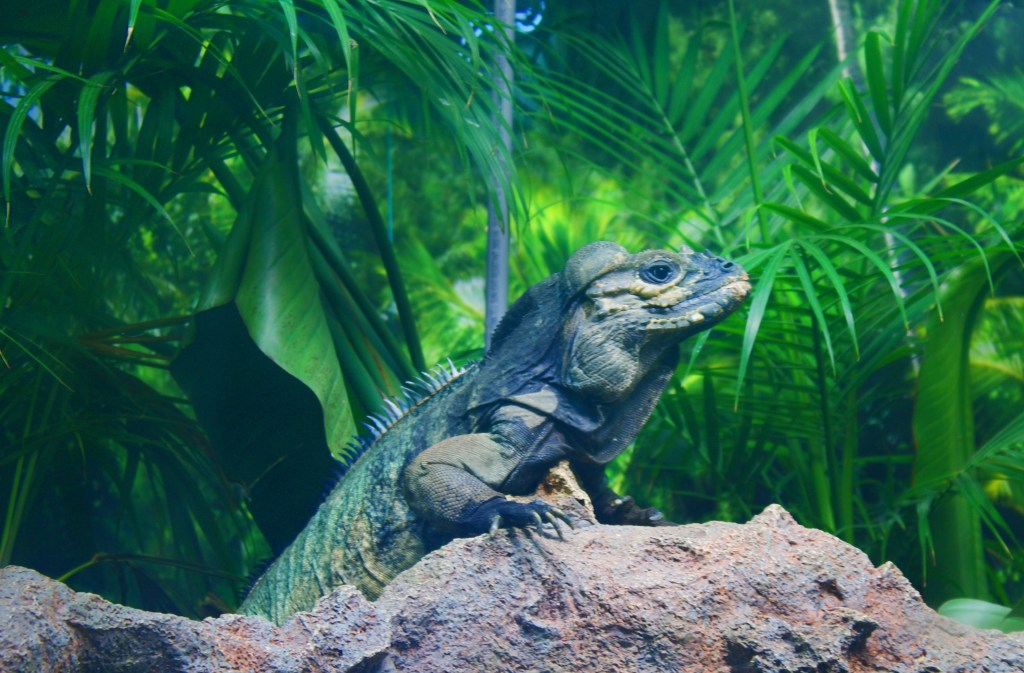
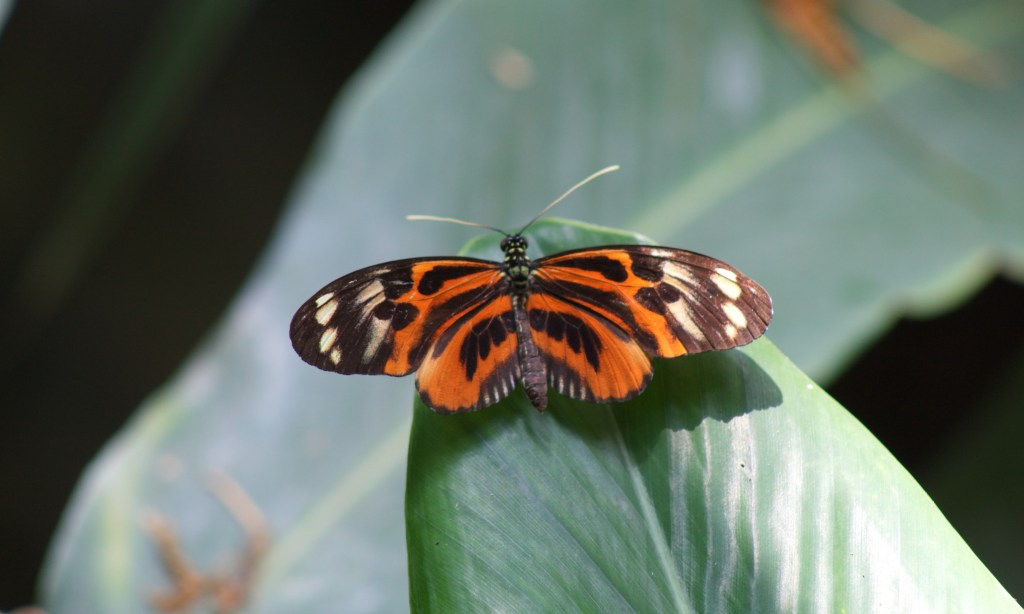
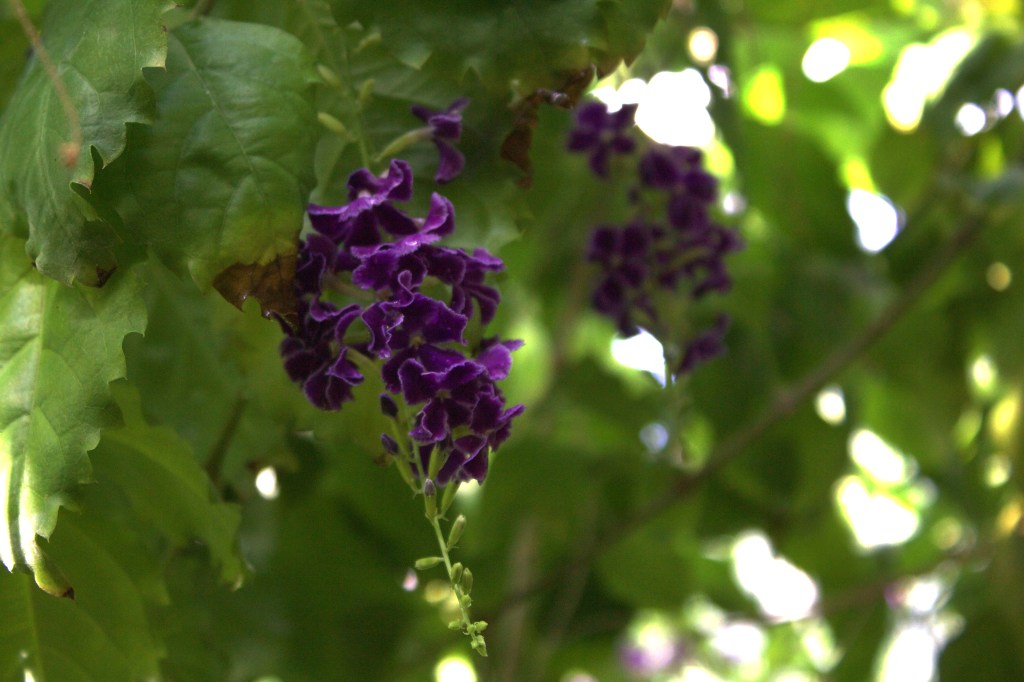
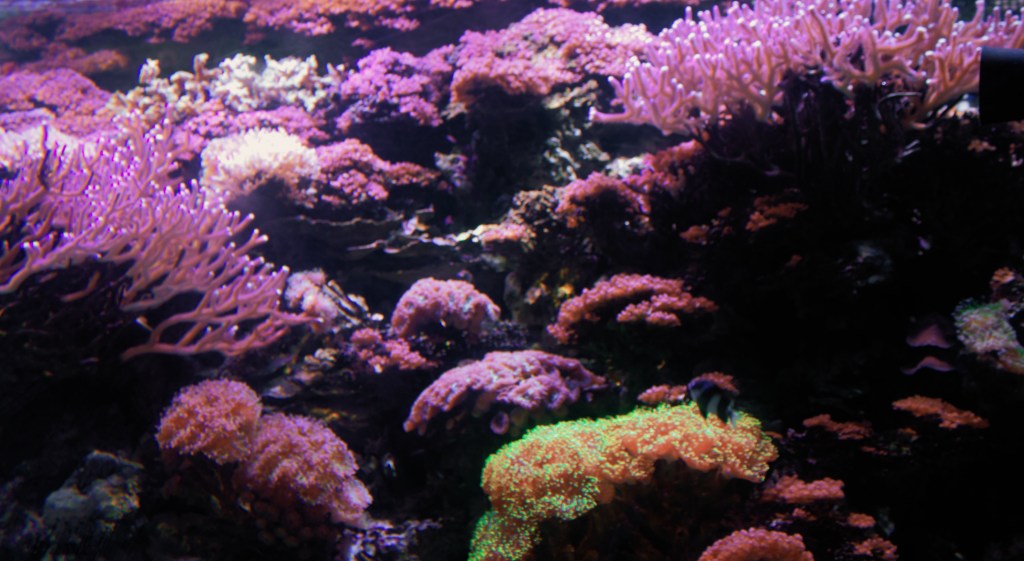
The recent big jump happened when I began experimenting with ISO, exposure time, and reading the light meter. ISO is “fake light” when it was explained to me, which comes as the cost of noise on your pictures, but make sure you have a lower exposure time to prevent blur on moving subjects. Exposure is just how long the sensor is exposed to the subject, usually controlled with a shutter; the less light there is, the longer shutter needs to be open. In summation, all of the exposure and ISO balances effortlessly by looking and reacting to the light meter on the camera, which is shown in the viewfinder on most cameras. The photographer’s goal is to make adjustments till the light meter reads out zero unless creative guidance leads to other choices. You already saw a few pictures I took today after I did a little work on the post, let me know what you think, I am eager to learn more of this art.
